 Having finished the blocks, I concentrated on the centre casing which joins everything together. Again, having two sets of everything helped but both sets of oil pumps had pitting on the gears and I had to use some nos pumps I just happened to have. Actually, the reason I had all these parts is because I had spent the previous nine years gathering bits from all over the place. It paid dividends many times.
The manual stresses the importance of the position of the blocks on the centre casting to achieve the correct backlash in the drive gears. This is achieved by using different thickness gaskets between the joints. There is a special tool to determine the correct thickness and I made one only to find the required thickness was stamped on each block! I did check them all and it was correct. The hardest part was finding gasket material of the correct thickness.
The blocks have to go on in the correct order to some extent and so I followed the reverse of the dismantling. It’s also easier to rotate the whole assembly as you go to allow a straight drop into place. As the engine as a whole weighs 2500kg, this does have to be done carefully!
No 5 on first.
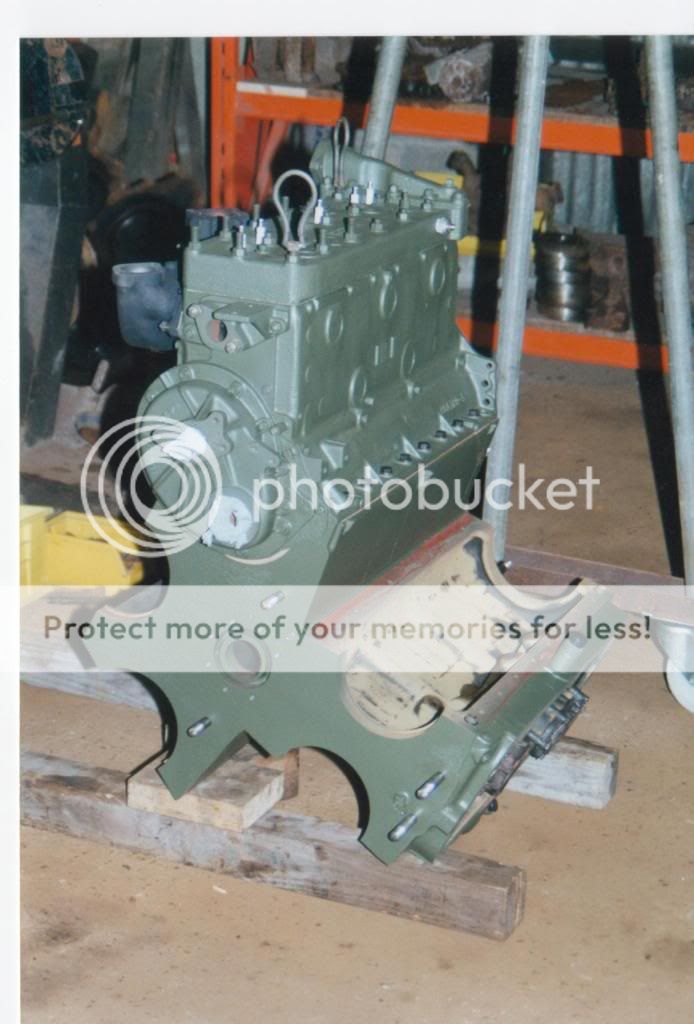
No 4 and 3
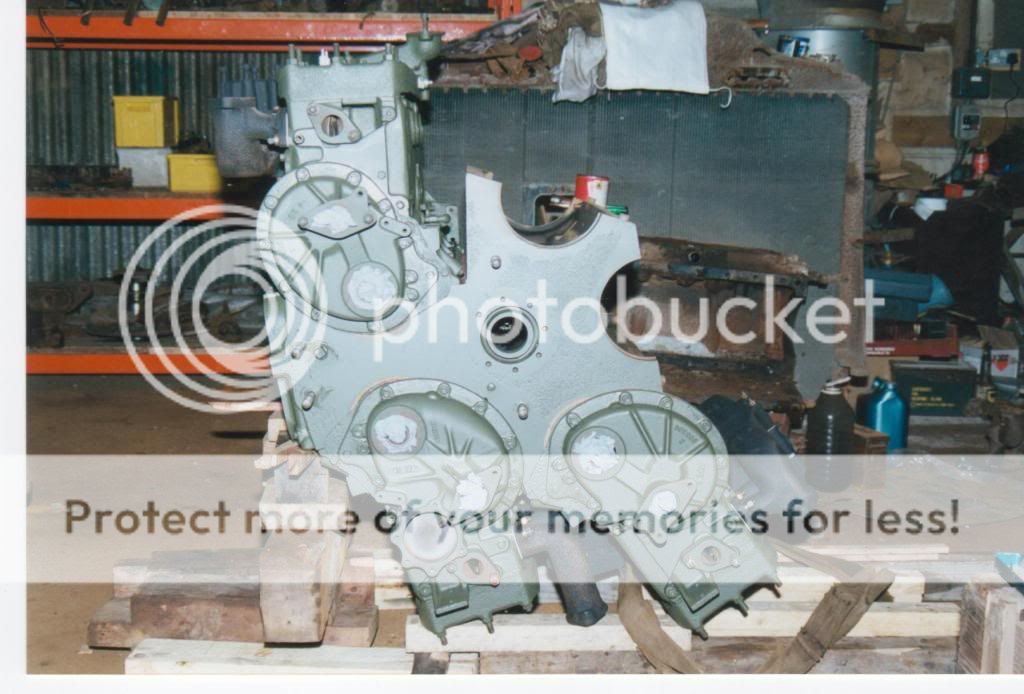
All on.
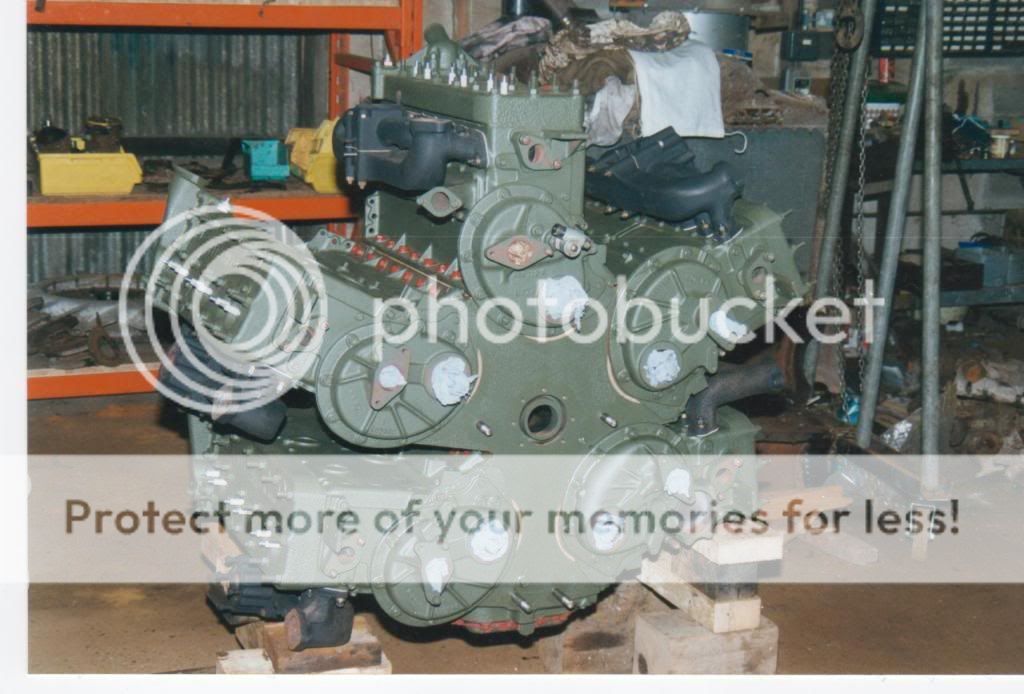
Looking at the front of the engine, the layout is clearly visible with the two lower engines undercutting the middle two.
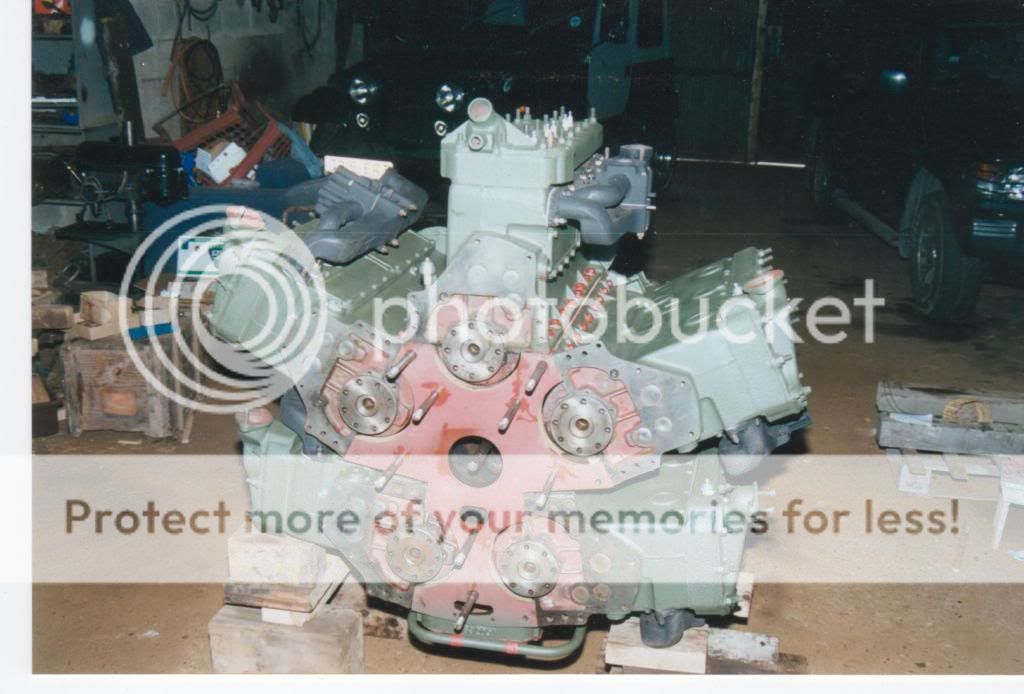
The next step is the gear case. The herringbone gears run on roller bearings but the gears bore is the outer race and the pin is the inner race for the bearings rather like a motorcycle big end. The problem with this is any pitting on either componant is a bad thing. Fortunately, the gears from my tanks engine were perfect.
The gear case is offered up on the studs untill it goes tight. At this point the studs increase in diameter to become dowels and it is time to ‘time’ the engine. There is a plug in each gear position to ensure the timing marks are all in line. The manual is a godsend in this respect as it makes it very easy to do.
The firing order is progressive throughout all the engines and whilst the firing order of each block is 142635 i.e. the reverse of normal due to the reverse rotation, the overall firing order is 1 on eng.1, 5 on eng.3, 3 on eng.5, 6 on eng.2, 2 on eng.4 and 4 on eng.1 and so on. This gives a firing impulse every 24 degrees making it very smooth.
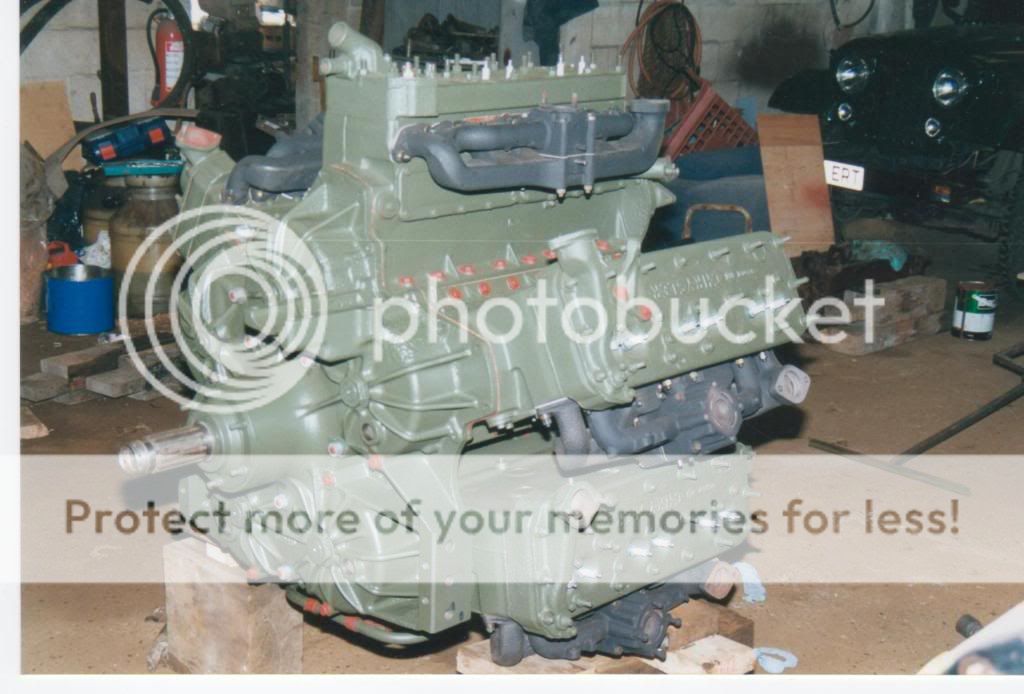
The next thing to do was the engine wiring harness. This was quite complicated as the engine has a plethora of gauge sending units. There is a water temp. sender in every head as well as a high temp. warning switch, an oil pressure sender, an oil temp. sender and an exhaust temperature switch on each manifold. These are known as stack lights and are to give the driver a warning if one block is not firing. The lights on the dash are the same as a Dodge Hi-beam warning light.
I made a new harness using Nyvin wiring which handles the high temperatures well and wrapped it all in braided sleeving as per original. It all terminates in a 14 pin plug above the starter motor.

The cross shaft on the engine is for the choke linkage.
The next step was fitting ancilleries such as the five distributors, coils all nos and the rebuilt water pump. The pump required a lot of work as two of the outlets were broken off. I had to build five carbs from 11 as despite being nos, they had sat outside for many years. The starter motor was probably the hardest part to do as it was very corroded and the brush holders had rotted away but I found a more modern motor had the same parts and just swapped them over.
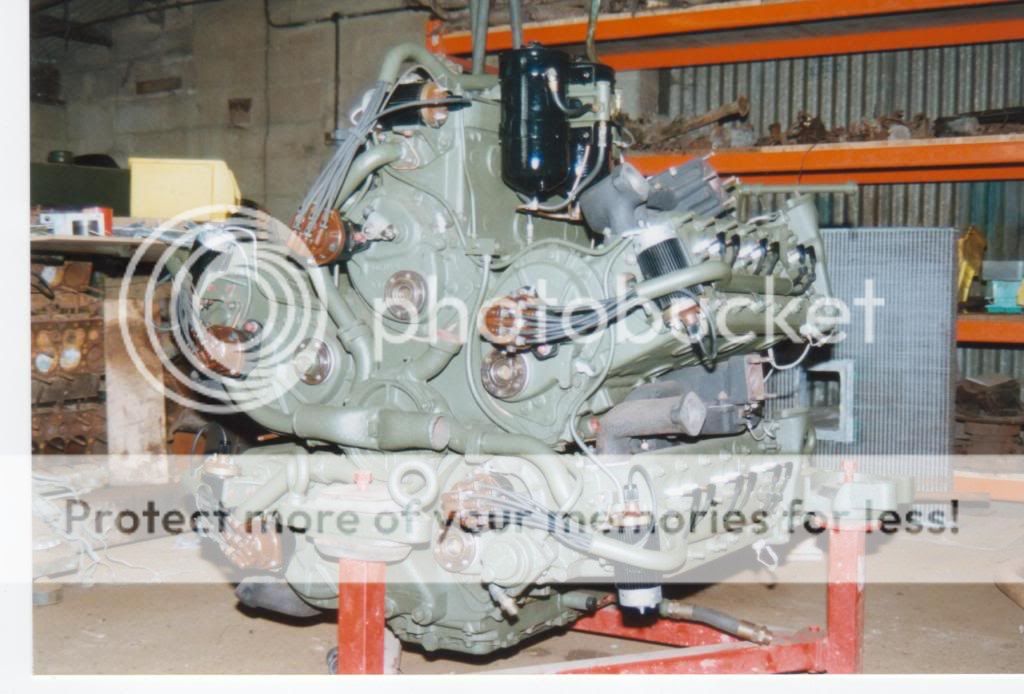
The last major bit was the radiator. I knew I had to have a new core so having stripped all the tanks off, I sent it away and Serks made a good job of a new one. I repaired a few shrapnell holes in the header tank and assembled the new core with new bolts and gaskets.
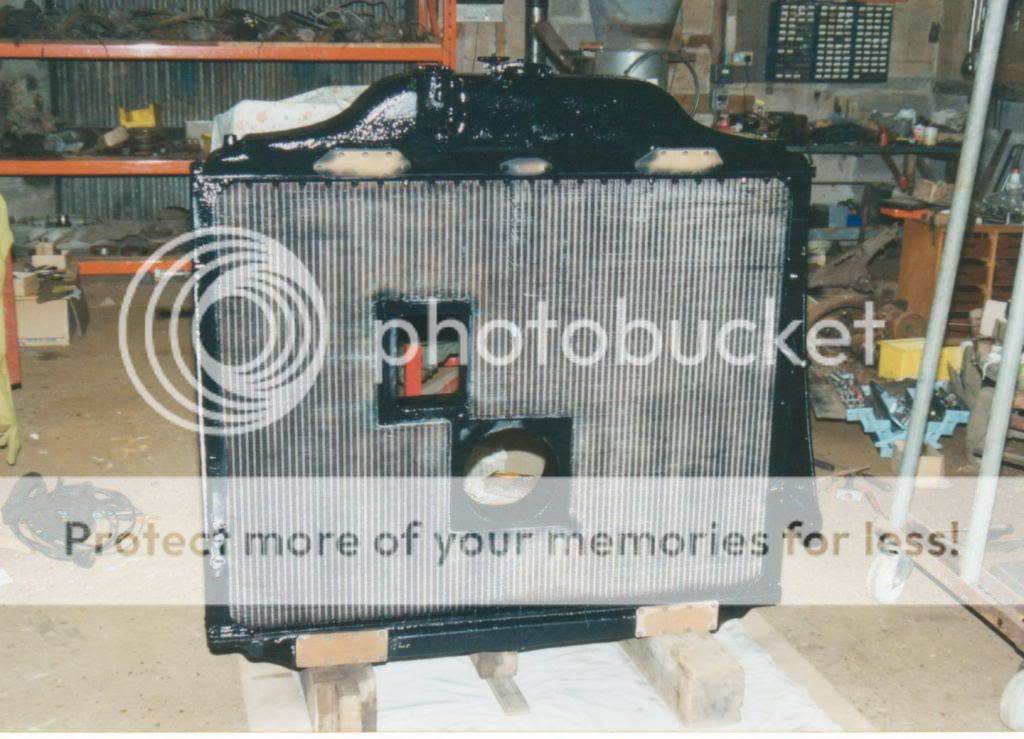
With the radiator on and connected up, I was nearly ready for a test run. The clutch is the same as a radial engine clutch so I managed to find a new flywheel and some parts but had to reuse the pressure plate. Eith new springs it all functioned correctly. I welded the broken blade back on the fan and fitted it all together.
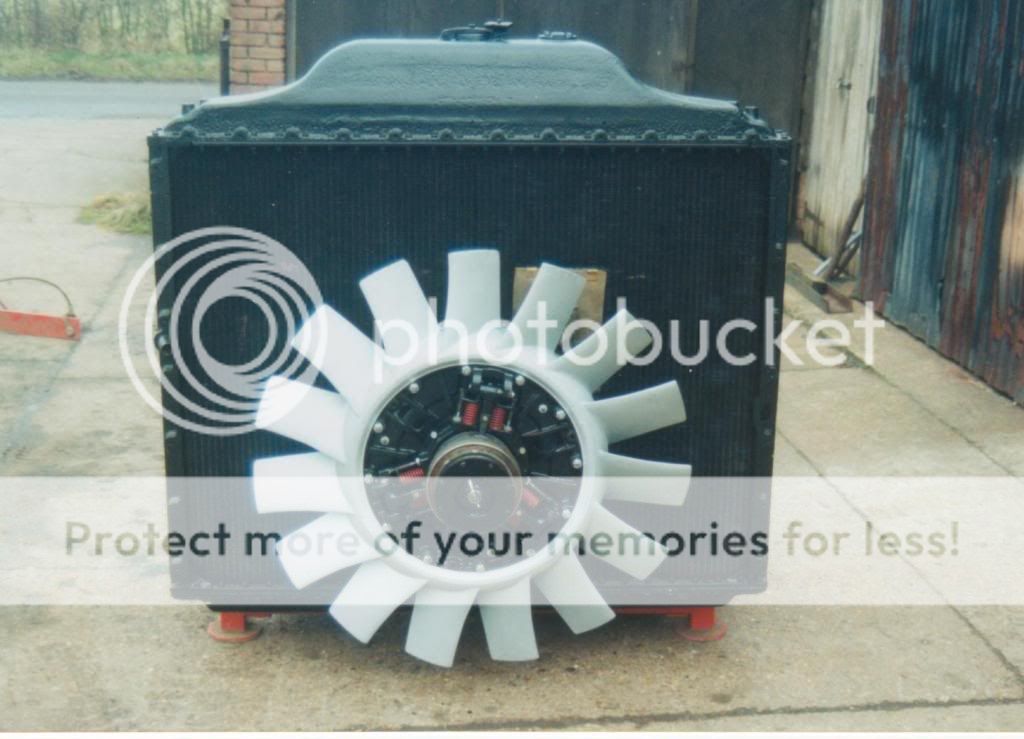
Jumping forward in time slightly, I managed with thanks to the Tank Museum, to borrow a fan cowl from their display engine. This enabled me to make a copy.

It’s a complicated double skinned affair with an airfoil section and is close fitting to the fan.
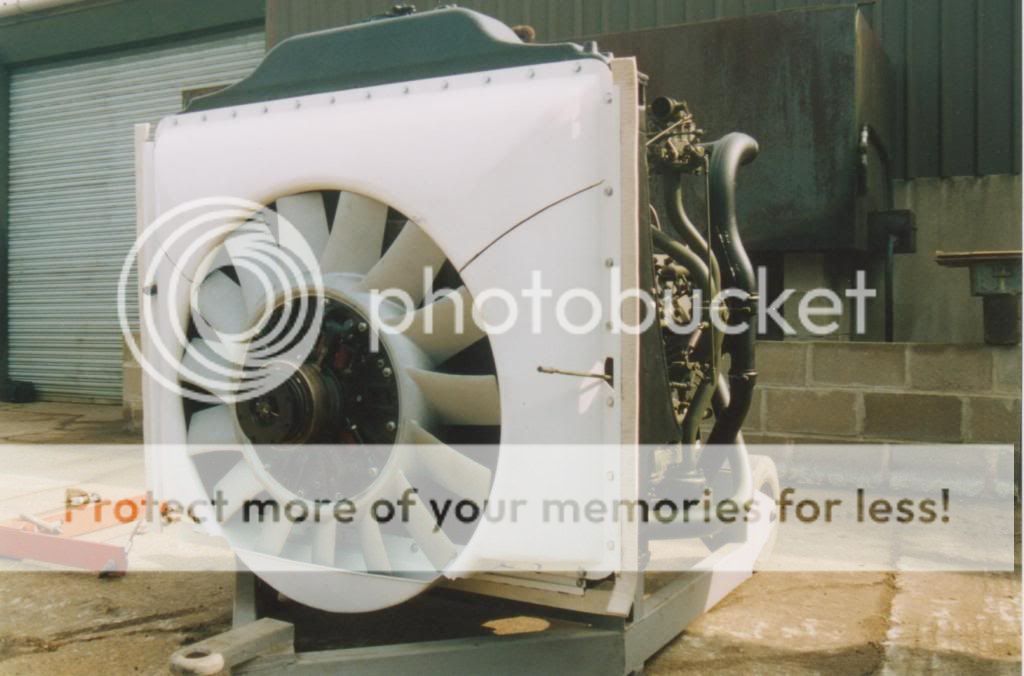
Back a year or so….. I set the engine up on it’s trolley and rigged up a Valentine oil tank, a jerry can and two batteries…..
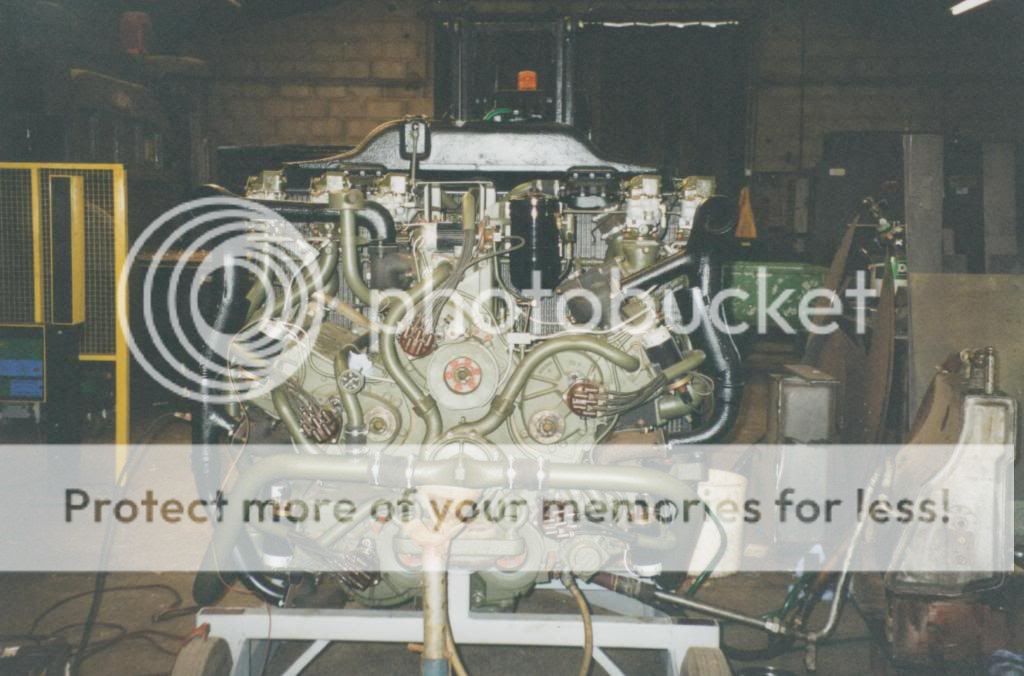
It all worked!
Well almost! I checked the exhaust manifolds and one was cold but it was just a stuck carburetor float valve so that was easy to fix. I did think it was only running on 24! This was Dec 31st 2000, a great day!